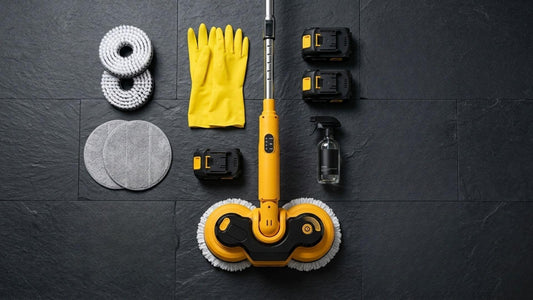
If you just unboxed your new Qimedo M2 Electric Spin Mop, congratulations on your new automatic mop . You have upgraded to the ultimate floor cleaner mop. However, there is a slight learning curve. Most of us grew up using traditional sponge or string mops. Back then, the rule was: push hard and scrub furiously.
Introduction: Unlearning the "Push and Scrub"
If you do that with an automatic mop , you are defeating its purpose. In 2026, mopping is no longer a workout. It is a guided glide. Here is your step-by-step guide to getting the most out of your mop electric for floor cleaning.
- Attach two clean, dry microfiber pads to your M2. Turn it on Low Gear (400 RPM). Walk it across your hardwood or tile. The spinning microfiber creates static electricity, trapping pet hair and fine dust far better than a broom.
Step 1: The Dry Dusting Phase (Don't Skip This!)
Before you add a single drop of water, you need to dry dust. Why? If you mix water with loose dust and pet hair, you create mud. A floor cleaner mop works best when the loose debris is gone.
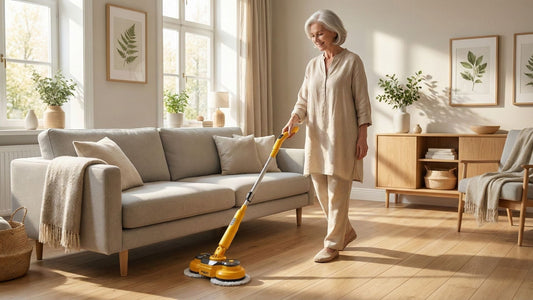
Step 2: The "Hover Glide" Technique

Now, it's time to wash. This is where most people make a mistake: they push down. With the Qimedo M2's dual-motor 800 RPM system, you don't need to apply downward pressure.
- The Grip: Hold the ergonomic handle lightly with one hand.
- The Movement: Let the counter-rotating heads pull the machine forward. Your job is simply to steer it left and right like a slow dance.
- The Speed: Walk slowly. Give the automatic mops for floor cleaning time to let the 800 RPM friction break down the dirt. Rushing over a sticky spot won't clean it; pausing over it for 3 seconds will.
Step 3: Mastering the 300ml Spray System
Less is more. A common cause of dull, sticky floors is using too much detergent.
- The Ratio: Fill the 300ml detachable tank with warm water. If you use a floor cleaner, only add a few drops (a 1:50 ratio is plenty).
- The Spray: Press the spray button for 1-2 seconds to release a fine mist ahead of the mop. Do not soak the floor.
- For Wood/LVP: Mist sparingly. Let the high-speed pads buff the floor dry instantly.
- For Tile/Grout: You can spray a bit more to help the pads dig into the recessed grout lines.
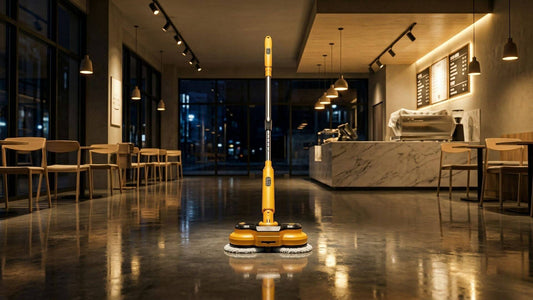
Step 4: Utilize the LED Headlights

You can't clean what you can't see. The Qimedo M2 features front-facing LED lights. We highly recommend dimming your overhead room lights slightly when using the mop electric for floor cleaning. The low-angle LEDs will cast shadows on dust, crumbs, and sticky spots you would otherwise miss. This helps ensure a flawless clean under cabinets and sofas.
Step 5: Post-Clean Pad Maintenance
Your floor is only as clean as your pads.
- Remove immediately: Don't let wet, dirty pads sit on your wooden floors after you finish. The M2's self-standing design makes it easy to park, but always peel off the Velcro pads.
- Washing: Toss the microfiber pads into the washing machine (warm water, no fabric softener). Air dry them to keep the micro-hooks fluffy and effective for your next mopping session.
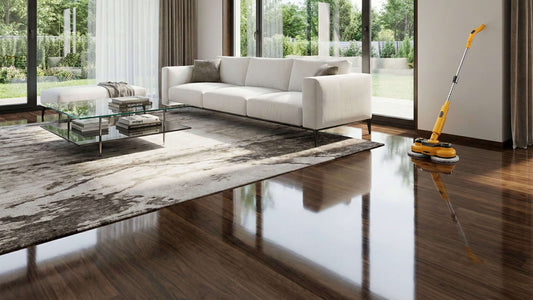
Conclusion: Enjoy the Glide
Mastering your automatic mop takes about 5 minutes. Once you experience the effortless hover of the Qimedo M2, you will never look at mopping the same way again.
[Need Replacement Pads? Shop Accessories]